Author: Beatrice Bisais Page 13 of 32

Bea is Nixplay's Social Media Manager. She enjoys drinking coffee, reading about wars, and writing stories. Send her a message at beatrice.bisais@nixplay.com.

Take Better Photos without Breaking the Bank: A Guide to Beginner’s Photography Equipment

If you’re an amateur photographer, or even an intermediate photographer, chances are you’ve debated whether or not to spend your hard-earned money on a fancy piece of photography equipment.

There’s so much equipment out there, of so many different kinds, that photography can quickly become an expensive hobby.

But it doesn’t necessarily have to be that way. If you really want to up your photography game without breaking the bank, it makes sense to invest in a few select pieces of simple equipment.

Tripod

The tripod is a must for anyone who wants to take more than the occasional snapshot. Why? Because a tripod is the only way you’ll be able to get clear images if you need to use a slower shutter speed.

Like any piece of photography equipment, tripods can get pretty pricey – up to $1,000 for carbon-fiber legs and unsurpassed ergonomics – but you can also pay just $20 for a tripod that’ll do the trick. All it really has to do is hold your camera still, after all.

External flash

Even though you may not need it terribly often, an external flash is a good investment for beginning photographers.

External flashes allow you to position the device where it will create the softest, most attractive lighting – which is often a different spot from where your camera is.

You can find external flashes for as little as $100.

Lenses

A great lens is one of the quickest and easiest ways to drastically improve your photography. In fact, we might go so far as to call it a must-buy.

The first lens you may want to buy, if you’re not ready to spend a huge amount, is a prime lens. These lenses offer a fixed focal length – or, in other words, they don’t zoom. While this is slightly less convenient than a lens that can zoom to various lengths, prime lenses offer distinctly better visual clarity than zoom lenses do.

Another good starter lens is a wide-angle to telephoto lens. There’s a bit of a learning curve to wide-angle lenses, as they can be difficult to use, but they are a wonderful tool for emphasizing depth in your images.

You can get a decent wide-angle lens for about $130.

A white background

If you’re taking photos of small items, food, or products – for a blog or an Etsy listing, for example – you absolutely need a white background.

You can either buy a white sweep, which is a piece of curved, seamless, white material made especially for photography, or you can create one out of items from around the house. A roll of white paper, the thinnest white mat board from a frame store, or even a sheet of white plastic table cover will work.

When you light your background properly, you’ll get the illusion of a shadow-free background. This will immediately give your photos more sharpness and clarity.

Lens cleaning equipment

A spray cleaner and microfiber cloths to clean your lenses are a must. They’re cheap, easy to find, and they’ll ensure that you don’t have any specks on your lens that will distort your image.

Another piece of cleaning equipment that’s worth getting is a Sensor Gel Stick, which is a little device that lets you safely pick up any dust that lands on your camera’s sensor.

Remote shutter release

These simple and inexpensive remotes let you snap photos remotely, so you can be where you need to be while shooting – even if that’s not behind the camera. You may want to get two – they’re very inexpensive, but also very easy to lose.

With these few pieces of equipment, you should be able to take your photography to the next level relatively easily. For more digital photography tips, check out our post “The 9 Greatest Websites for Learning Digital Photography.”

Bea is Nixplay’s Social Media Manager. She enjoys drinking coffee, reading about wars, and writing stories. Send her a message at beatrice.bisais@nixplay.com.

Take Incredible Springtime Photos Using These Photography Tips

Spring is around the corner, and many professional and amateur photographers alike love taking photos when the weather starts to warm up.

The colors seem a little more vivid, the days get longer, the natural light sticks around for a while, and everything around us is in bloom.

But as beautiful as the season is, it’s not always easy to capture it in your photographs.

What looks perfect through the lens might not translate to the photo, so it’s important to make sure you’ve got all the elements in place behind the camera.

With that in mind, here are some tips for creating great springtime photos.

Time your photos carefully to get the best lighting

The right light can mean everything when it comes to a photo, especially an outdoor photo. Typically, the best times of day to get the right light are early morning or late afternoon, and into the evening.

As for the early morning, don’t worry if there’s a little fog or mist in the air, particularly if you’re shooting a woodland photo. That fog can add a mysterious feeling to your photos.

Use the right lens for the right type of shot

The wider the lens, the greater the depth of field in your photo. This can be a great way to create contrast in your photos.

But if you’re shooting plants or flowers close-up, make sure to use a macro lens to capture all the tiny-but-important details. Think about getting closer to the ground or taking a vertical shot. Not every photo has to be at eye level.

Experiment

If you’re trying for a woodland or other outdoor shot that’s a bit different from normal, why not shoot from unexpected or atypical angles? A unique point of view can create a whole new dimension in a photo.

Composition

If you’re taking a landscape photo, it’s often helpful to have something in the foreground. It will give a sense of scale to the picture.

Also, it never hurts to remember the ever-trusty rule of thirds: Imagine two lines that divide the photo in into three equal segments, with the subjects of your photo at or near those lines.

Landscapes don’t always have to be landscapes

There are certain landscapes that can lend themselves very well to a portrait format photo. Try both, and see which you prefer. It won’t always work, but you could be pleasantly surprised.

Pay attention to movement

Try to be aware of the wind where you’re photographing. As you’re preparing to take your photos, take note of the conditions around you. Should you wait a moment for that breeze to pass?

It might also help to use a faster shutter speed in those situations. It reduces the effect of movement or blurring within the photo.

Head to the water’s edge

If you’re looking for some vibrant, colorful new plants to photograph in the spring, check along the banks of a stream, creek, or river. Even if the trees are still bare from the fall and winter, there’s probably new life along the banks.

Use rain to your advantage

Taking photos right after a spring rain shower can produce some sparkling results, particularly up close on flowers and plants. And if the sky is still overcast, you can end up with some perfect lighting.

Protect yourself and your equipment

The photographer isn’t the only thing out in the wild during the spring. There are plenty of insects out there, so make sure to have some insect repellant sprayed on before you go looking for that perfect photo.

Just make sure your camera is safely out of range when you apply that bug spray. There are some spray-on repellents that can melt plastics in the right conditions, so keep the camera in the bag until after you’ve finished applying.
Portraits will look best in the early morning

If you’re going to be photographing people outdoors, early morning might be the best time to do it. There’s a softness in the morning light, when the sun is low on the horizon, that can really make a portrait special.

When you’ve gotten all the lovely springtime photos you want, make sure to send them to your Nixplay WiFi Cloud Digital Frame so you can enjoy them every day. For tips on how to organize your photos into playlists, read our post “Photo Playlist Ideas for that Nixplay Digital Frame You Got for Christmas.


Bea is Nixplay’s Social Media Manager. She enjoys drinking coffee, reading about wars, and writing stories. Send her a message at beatrice.bisais@nixplay.com.
How to Make Your Smartphone Photos Look (Almost) Professional

We all want amazing-looking photos – the kind that make viewers think you must have an expensive DSLR camera and a hefty amount of photographic skill.

But at the same time, many of us love the convenience of a smartphone. They’re small, easy to use, and most take great snapshots.

So can you somehow get both the convenience and the excellent photography all in one? What can you do take your smartphone photos to the next level?

Make use of camera apps

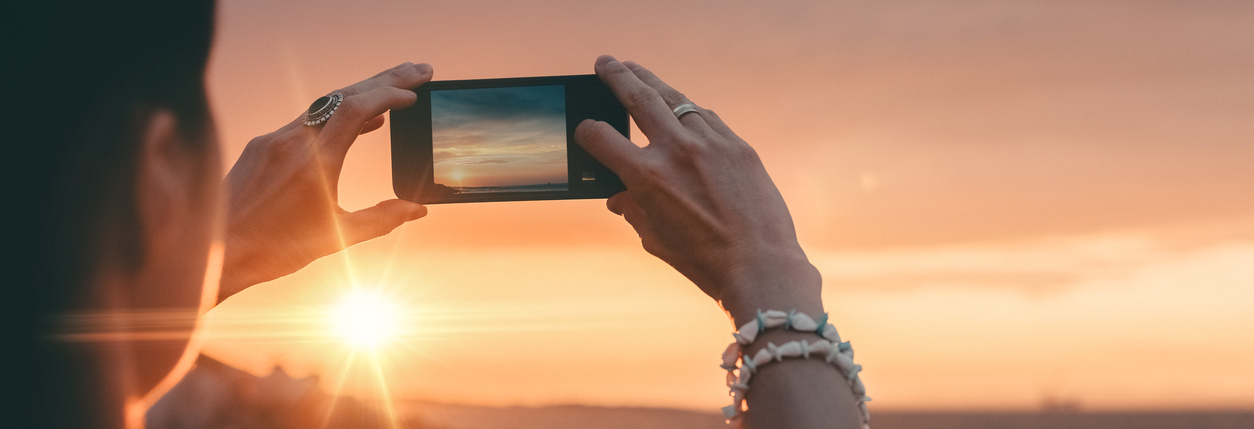
Most smartphone cameras work just fine, but smartphone camera apps can make a huge difference in the quality of your shots.

If you’ve got an iPhone, Camera+ is an excellent app that can give you almost as many features as a DSLR.

For $1.99, you’ll get a stabilizer, a timer, and tons of other features, as well as a full editing suite that lets you adjust saturation, exposure, and other elements.

For just a bit more at $4.99, ProCamera 7 is another good app for both taking and editing photos. According to the iPhoneographers at iMore.com, ProCamera 7 can handle night shots better, and in general seems to take slightly better photos than Camera+.

Use backdrops, special lighting, and props

Simple photography equipment like a sweep, a source of light, and a couple of props can go a long way toward making your images look more professional.

If you’re taking a portrait, for example, natural light that’s hitting your subject from the side rather than the front, back, or top can instantly improve your photograph. This can be achieved indoors by using an external flash. External flashes are highly effective because you can move them to the most advantageous place – which may not be on the top of your camera.

Use a drone

If you want to get really high-tech, try using a drone. There are plenty of models that can be connected to your smartphone to allow you to take high-angle shots, bird’s-eye views, and action-packed video.

Drones come with various privacy and safety issues, so you’ve got to be careful how and where you use them. But they can give you photographic capabilities that up until recently, was only available to filmmakers and professional photographers.

Use an external lens

Just like you can add an external lens to your DSLR camera, you can add an external lens to your smartphone, too.

External lenses can give you options you just can’t get with your regular smartphone lens – not even with an app. For example, you can purchase wide-angle lenses, fisheye lenses, and telephoto lenses, as well as all-in-one kits that offer all of those options. Typically, however, these all-in-one lens kits don’t offer quite the image quality that the pricier, individual lenses do.

Use a tripod

Perhaps the easiest, least expensive thing you can do to make your photos look more professional is to use a smartphone tripod.

Because a tripod eliminates the miniscule movements that occur when you hold your smartphone to take a picture, using one can result in images with a sharper focus and better clarity.

Making your smartphone images look more like professional photos doesn’t have to be difficult. Beautiful photos deserve to be seen, so make sure you put yours on a Nixplay WiFi Cloud Digital Frame! For ideas on how to organize and display your photos, read our post “Photo Playlist Ideas for that Nixplay Digital Frame You Got for Christmas.”

Bea is Nixplay’s Social Media Manager. She enjoys drinking coffee, reading about wars, and writing stories. Send her a message at beatrice.bisais@nixplay.com.
The Most Scenic – and Photogenic – Spots to Spend Spring Break This Year

It’s never too early to start planning your spring break vacation – especially if you’re an avid traveler or photographer.

Once you’re out of college, it’s not the party-heavy, crowded beach towns that tend to catch your fancy. Instead, spring break becomes a chance to relax, regroup, and get away from it all – preferably with some beautiful views of nature mixed in.

Here’s our pick for the most scenic and relaxing spots to spend your spring break this year.

Lisse, Holland

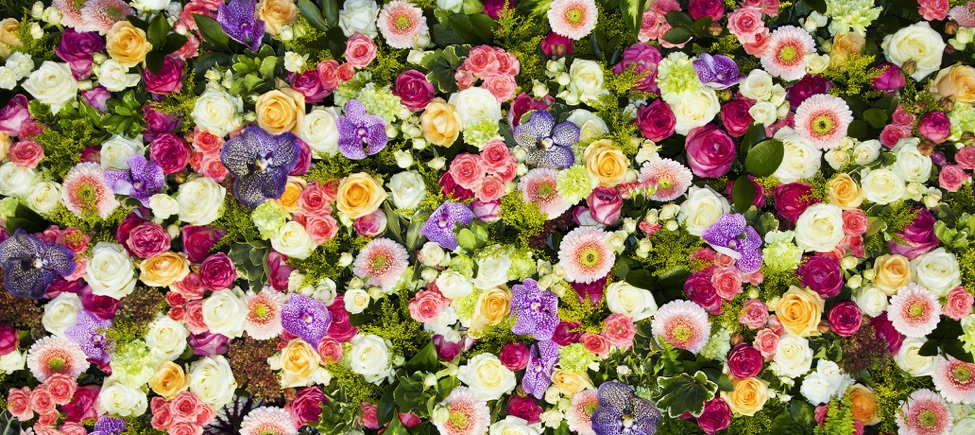
Holland is beautiful at any time of year, but the springtime is when you absolutely must visit. This is when you can see those iconic fields of brightly colored tulips stretching as far as the eye can see.

The Keukenof in Lisse is a world-famous garden and destination for travelers from around the world. It’s only open between March and May, so make sure you check the exact dates you want to travel to ensure you’ll be able to visit. And whether you take your photos on a DSLR camera or your smartphone, don’t run the risk of a dead battery. Those tulips make for some incredible photos.

The Grand Canyon, U.S.

Beat the summer crowds and see this awe-inspiring natural wonder in the spring, when daytime temperatures are pleasant and nights are cool (even cold).

Airfare and hotel rates should be a bit lower, and if you explore some of the areas around the Grand Canyon, you’ll see the beautiful desert flowers that appear seemingly overnight in an otherwise harsh landscape.

Washington, D.C.

If you haven’t seen D.C.’s cherry trees when they explode into pink clouds of blossoms each spring, then a trip to the country’s capital is in order.

The annual Cherry Blossom Festival is scheduled around when the blossoms are expected to bloom, but it’s not an exact science, of course, so check to see if any changes have been made in the weeks before you go.

You’ll be in good company – more than 1 million people travel to D.C. each year for the festival – but we think it’s worth it to get a photo of you and the family surrounded by beautiful pink blossoms.

Vancouver

For a Canadian city, Vancouver in the springtime has surprisingly mild weather, with most days in the 50s (Fahrenheit, that is).

Spring in Vancouver is not only mild, it’s beautiful too, as the city’s many parks begin to come alive again with flowers and greenery. There are festivals galore to keep you entertained, and hotel rooms are reasonably priced, as high season isn’t until summer.

Kauai, Hawaii

Any season in Hawaii is beautiful to an almost otherworldly degree, but springtime can be exceptional. Kauai, particularly, is known for its breathtaking scenery: high green cliffs, huge tropical flowers, and the grand Waimea Canyon, which is like a tropical Grand Canyon.

No photograph can do justice to the scenery here, but you’ll be tempted to try your best. As you’ll be taking mostly nature shots here, you may want to consider a lightweight tripod. This will help you get those wide-angle, deep perspective images that are so ideal for nature photography.

Jackson Hole, Wyoming

If you’re a nature lover who can’t get all the way to Hawaii this spring, Jackson Hole is an excellent decision that’s a bit closer to home.

If you go in early March, you may still be able to hit the ski slopes that this town is known for – but if the snow isn’t cooperating, you’ve got plenty of hikes, canoe trips, and other outdoor excursions to take up your time.

It’s a lovely place for photographers, too. While you’re there, why not try snapping photos of the mountain scenery on horseback?

Spring is a wonderful time to travel, even though most of us schedule our vacations during the summer. Just make sure to share your photos with loved ones via the Nixplay app – it’s a great way to stay connected to family, no matter how far apart you may be.

Bea is Nixplay’s Social Media Manager. She enjoys drinking coffee, reading about wars, and writing stories. Send her a message at beatrice.bisais@nixplay.com.
Fun Engagement Photo Shoot Ideas

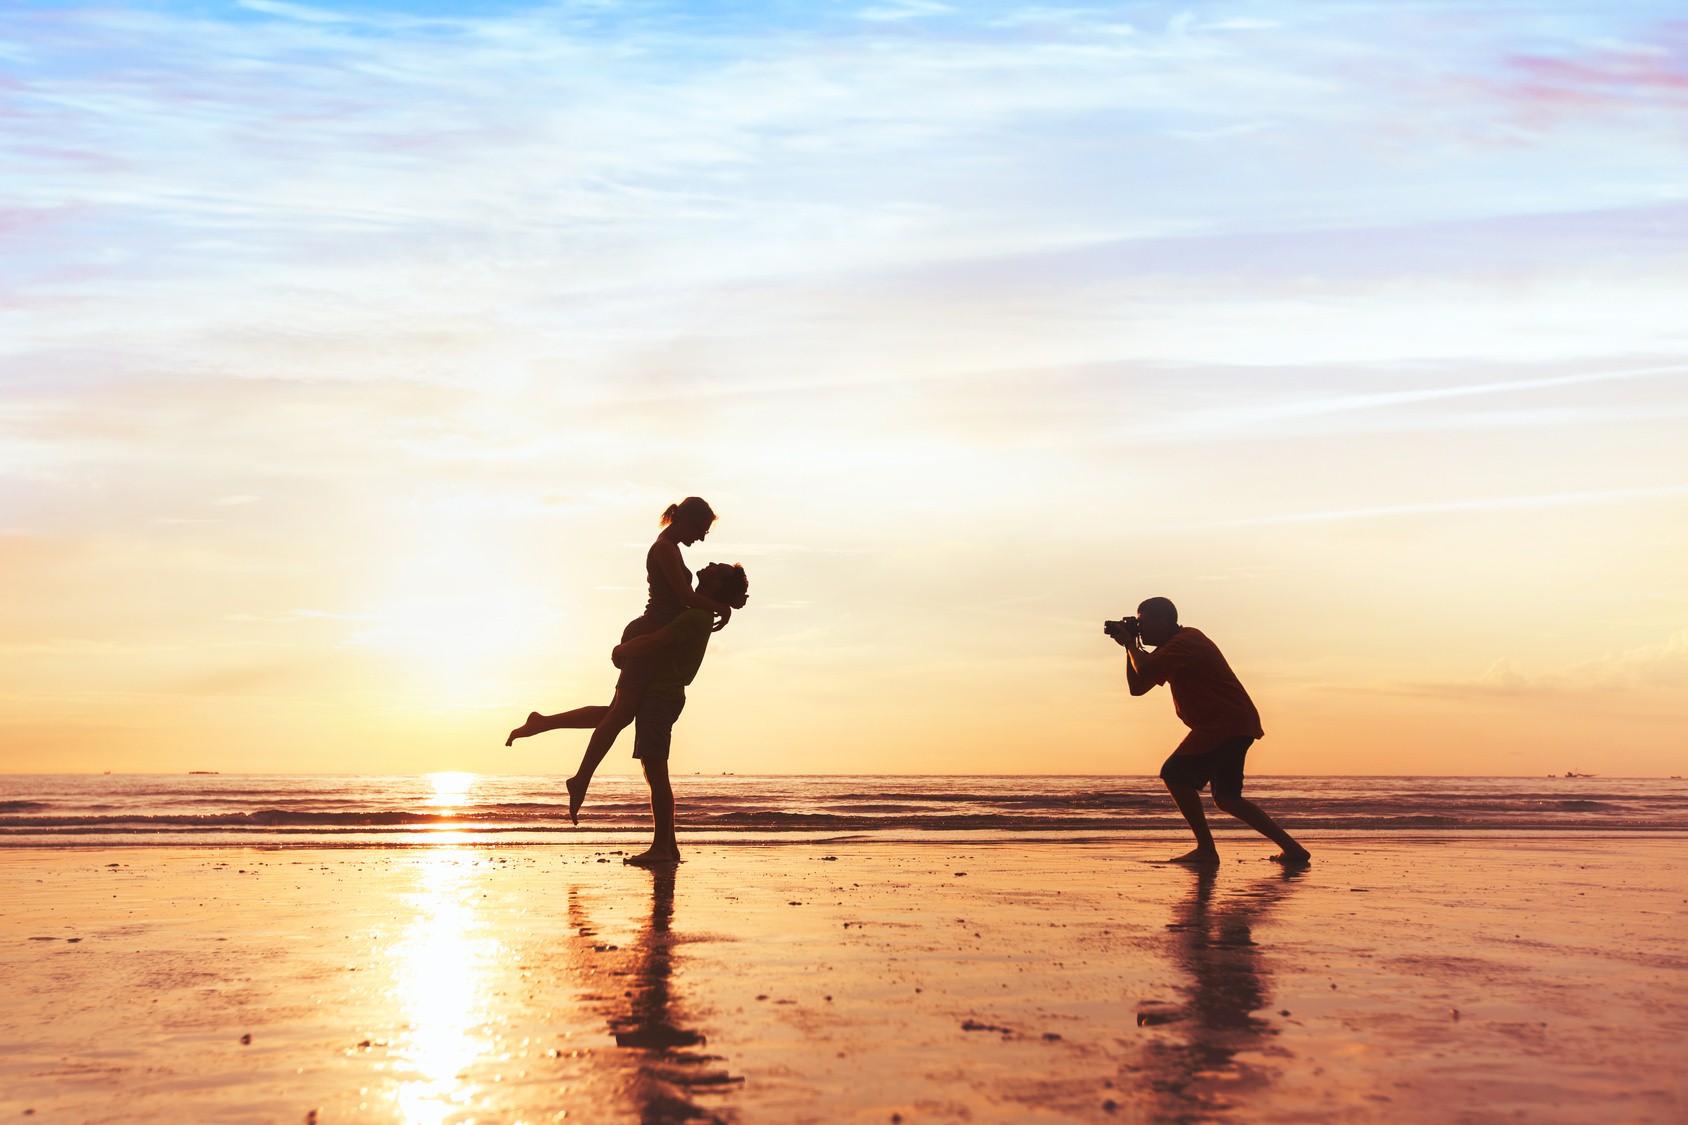
Springtime is the season of love, which explains why there seems to be plenty of engagements and weddings happening around this time of year. If you’re one of the lucky couples who are planning to tie the knot in the next year or so, then you’ve likely got an engagement photo shoot to plan. It’s the best way to capture your relationship leading up to your wedding, as well as a lasting image of your love.

So how can you make your engagement pictures your own?

History of engagement photos

Engagement photos started out as portraits that newly engaged couples sent to newspapers to announce their upcoming marriage. This practice gained popularity in the early 1900s, but has since developed into a more elaborate and well-thought out concept involving multiple poses and outfits, beautiful locations, and grand gestures of love.

It’s difficult to pinpoint exactly when the modern-day engagement photo shoot became a norm, but it’s safe to assume that the idea really took off when social media became mainstream. Seeing someone else’s gorgeous engagement pictures just makes you want to have a fun engagement photo shoot of your own!

Ideas for personalizing your own engagement shoot

One of the great things about arranging your own engagement photo shoot is that it can be as elaborate or as relaxed as you’d like (assuming your photographer is up for the challenge!). See some fun engagement photo shoot ideas below.

Some more relaxed, traditional engagement photo shoot ideas

If you’re not terribly comfortable in front of the camera, it’s probably best to go down a more traditional route. This way, you’re not forcing yourself into poses that feel unnatural, and you stand a better chance of getting the shots that you love.

One of the best ways to personalize traditional engagement shoot ideas is to choose your location carefully. Think of a place that’s important to you and your fiancé: where you met; where you had your first date; where you got engaged; where you most enjoy hanging out. Being in a place that actually means something to you will instantly make your photos look better, feel more authentic, and be more memorable.

Another fun engagement photo shoot idea is to have your photographer take photos of you and your fiancé doing something you both love. For example, if you have a shared hobby like hiking, bowling, or cooking, you can plan part of your photo shoot around the activity. This is ideal for those who like to shy away from the camera as it lets you focus on the activity, rather than the photographer.

Above all, choose your hair, makeup, and outfits carefully. You’re going to be looking at these pictures for years to come, and the last thing you want is to wish that you’d worn something different! Avoid trendy styles and stick to classic looks that will look elegant 50 years from now.

While we’re on the topic of style: You and your fiancé certainly don’t need to match, but you do want to ensure that your outfits don’t clash! If you’re going more formal, your fiancé should too; the same goes for a more casual look.

Step out of your comfort zone with these adventurous engagement photo shoot ideas

If you’re feeling creative, brainstorm with your photographer to come up with some more adventurous and fun engagement photo shoot ideas.

This could range from choosing a unique concept, like exploring on a trail on horseback, to something a bit more extreme, like getting photographed while rock climbing.

One fun idea is to take a narrative approach using props and different locations to tell a story—your story.

But of course, anything goes, especially if your photographer is handy with Photoshop.

Another option is to choose a theme, like a fun, snowy photo shoot with reindeer in Finland, a romantic Parisian engagement photo session in front of the Eiffel Tower, or a whimsical portrait at Disneyland.

Once you’ve perfected your ideas, you need to decide where you’ll display the photos you’ll take. Many couples print them on Save the Date mailers or on the wedding invitation, and most people also post them online as public announcements to family and friends. Looking for something a little more personal? You can integrate the photos into your home decor, either as a famiyl gallery photo wall or as a mantlepiece display.

Whatever you decide to do with your photos, don’t forget to share them with friends and family! If you’re using the Nixplay app, you can upload your engagement photos right away and send them straight to your Nixplay digital photo frame or to your other family members’ digital photo frames. It’s the most easy, beautiful way to share the love and romance.

For more photography tips, read our post “Expert Tips for Photographing Your Next Outdoor Adventure.”

Bea is Nixplay’s Social Media Manager. She enjoys drinking coffee, reading about wars, and writing stories. Send her a message at beatrice.bisais@nixplay.com.

Page 13 of 32

Powered by WordPress & Theme by Anders Norén