Category: Photography Page 8 of 24

Tips and guides for readers who want to take better photos to display on their Nixplay Frames.

blog-nixplay-halloween photography

5 Scary Good Halloween Photography Tips

Halloween is just around the corner, and we are pretty sure that you’re looking forward to getting dressed and having some fun on the spookiest day of the year. And speaking of fun, taking photos of your favorite Halloween highlights is definitely a must-do.

However, some folks might find that capturing the spirit of Halloween is easier said than done. This holiday has several tricks up its sleeve, from low light situations to busy subjects, that can frustrate even the most seasoned photographer.

Here, we’ll share with you some helpful tips so your photos of the holiday’s trickiest costumes, decorations, and low-light spooky parties will turn out to be a visual treat. Read on!

1. Mind the light

Shooting using natural light is always sound photography advice. It’s especially good practice during autumn, when everything is bathed in a warm glow. Since Halloween happens during this time of the year, take every opportunity to shoot outdoors and fill your images with the golden tinge the season brings. You’re bound to have some stunning photos, and making the effort to go out of town to capture some Halloween festivities will be worth it.

The above advice, however, cannot be applied if you’re shooting indoors or at night. The good news is that many camera manufacturers have been making some really impressive improvements in their sensors, making some good progress in terms of ISO behavior. Test your camera before your big Halloween party or trick-or-treating escapade so it’ll be easy for you to shoot decent photos in low light with a minimal amount of noise.

blog-nixplay-halloween photography

2. Play with masks and costumes…

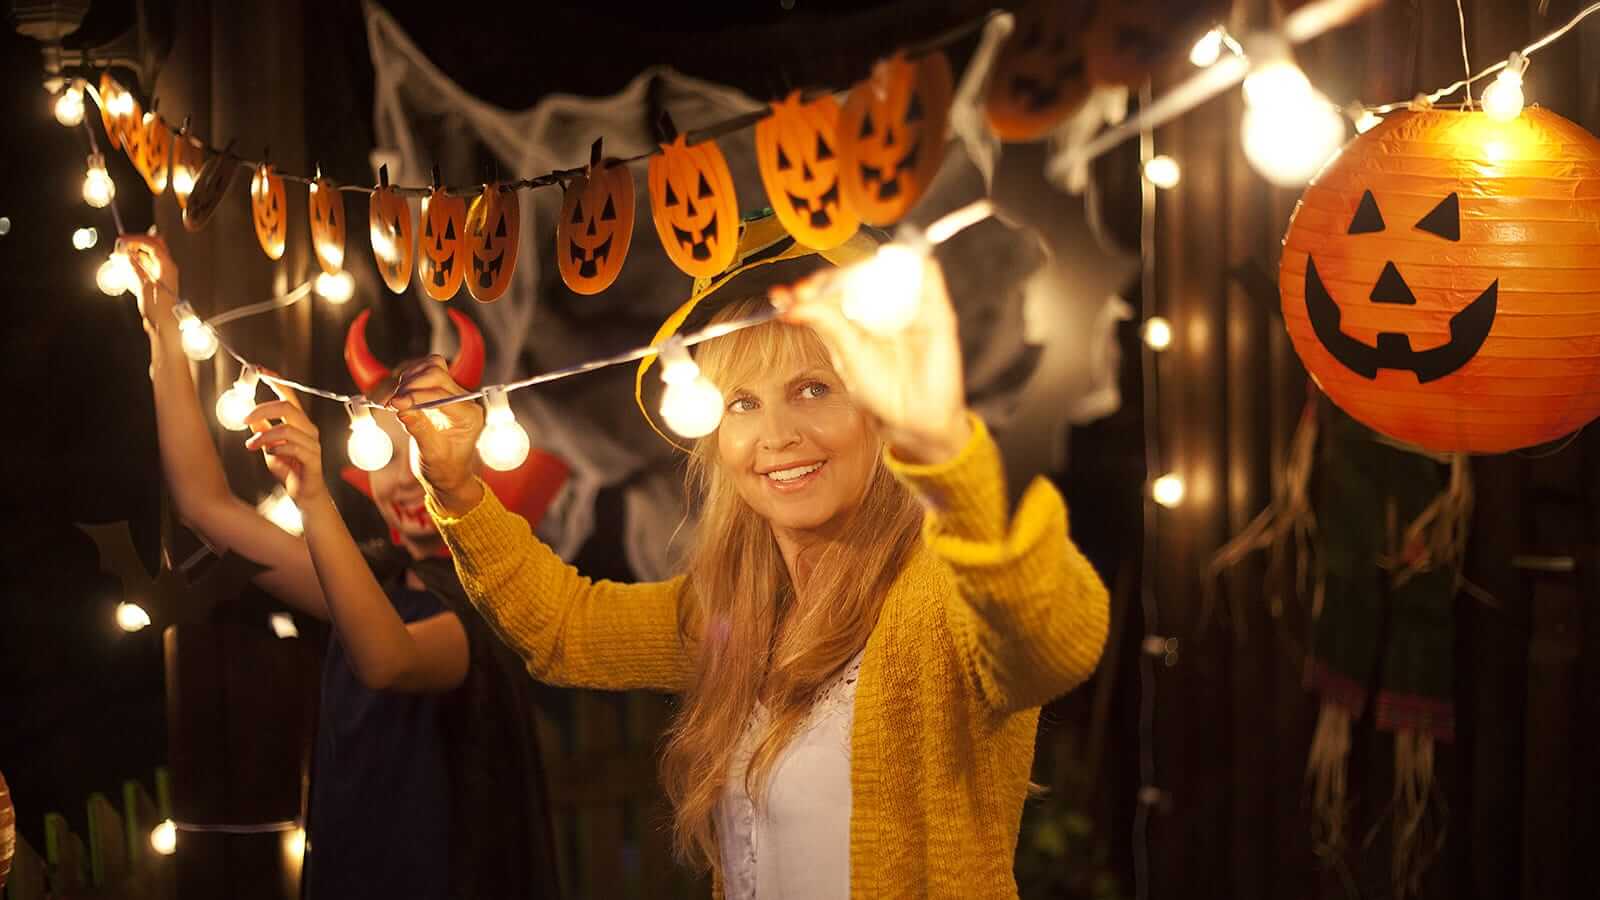
Halloween’s the one day in the calendar when it’s perfectly fine to walk around in costume. Experiment with different masks and outfits, and play around with various light effects (remember how you’d scare your pals by holding a flashlight below your chin?). You’ll be amazed by how easy it can be to achieve some crazy and eerie effects that will photograph well.

3. But don’t forget your photos’ backgrounds

Whenever you are shooting people dressed up in their costumes, remember to also consider the backdrops of their shots. A dark, gloomy background will give you photographs a whole different level of spookiness. You can even derive inspiration from The Haunting of Hill House and get other people to be “ghosts” in the backdrop, which leads us to the next tip…

4. Make ghosts appear via long exposure

Have you ever seen a photo with a ghostly figure fading away in the background? Are you curious about how these images are made? Well, they happen inside the camera, and not in Photoshop as some might believe. Fine, you can achieve this during post-processing, but trust us, it’s easier to do it using your camera.

What you have to do is to make sure your camera is perfectly still (using a tripod is the best way to go about this) and then expose manually in order to achieve a well-balanced exposure but with a long shutter base. Images with two to five seconds of shutter speed will work fine.

Now, put your subject in front of the camera for a brief amount of time, and then ask him or her to get away as quickly as they can. The resulting photograph should have a spectrum of the subject. There is no exact recipe for this, so you’ll need to play around for a bit to achieve your desired effect. Ask your subject to dress in black and stare blankly at the camera for extra goosebumps!

5. Document all your Halloween shenanigans

There are some really iconic activities that happen during Halloween like pumpkin carving and trick-or-treating. Take out your camera and get lots of photos of the Halloween activities you’ll be participating in. This is basically the soul of Halloween, so it really makes sense to have some nice photographs of these precious moments. Don’t forget to display your pictures on your Nixplay frame—we’re giving you up to 20 percent off, only until November 4!

However, you decide to celebrate Halloween, don’t forget to always have fun and take as many images as you can!

Federico is a documentary photographer, writer and educator based in El Salvador. Check out his photography portfolio.

Creative Ways To Ace Newborn Photography

Creative Ways to Ace Newborn Photography

We all want our newborns to look good in their first photographs. Our goal is to capture the newborn’s radiance, as they come as they are.

If you’re running low on budget, you can spend some time reading through this article to learn about the various ways you can capture your newborns nicely. You might even pick up on some tricks to share with your baby’s photographer!

1. Pre-photography prep

Newborns are very fragile and helpless. They always need someone to take care of their needs and keep them happy.

When you’re setting up for a newborn shoot, you need a helper to do that for you, whether that be the baby’s parent or relative.

Check your equipment before embarking on the photography session. Clean them properly with wipes. Make sure the blankets and pillows are pristine as well.

Depending on what sort of photos you want, you can include the newborn’s grandparents, parents, siblings and close relatives in the frame. Let the photos illustrate the family’s love and bond.

Lifestyle photos are more expressive and genuine than posed portrait photos. Still, this is totally up to your taste. If you would like your images to show more emotions, opt for lifestyle photos, and vice versa.

2. Look for a suitable site

Before the photo shoot, scout for the perfect location. Take some friends or your spouse along with a camera and snap every corner that intrigues you.

After you’ve visited all the places, compare the photos to see which one has the best background and natural lighting. Compare their spaciousness and how convenient it’ll be for your friends and family to join you. 

3. Prepare the baby

The most difficult task for a photographer is to keep the baby calm and posed during the shoot. Babies can get irritated easily and start crying.

In order to minimize the risk of a tantrum, make sure the baby is fed and had a good nap before the shoot. You can also keep them calm by playing soothing music in the background.

Place the baby in a comfortable spot. Choose the couch, the bed, or the bassinet—whatever works to keep them composed during the shoot.

Have their favorite toys around, as well as some milk for when they’re thirsty. Don’t forget to shower them with love and warmth so they enjoy being your model!

Prepare your baby to take a good photo

4. Be aware of the development milestones

Remember that in this photoshoot, your baby isn’t just your model but also your team member. In order to execute a great photoshoot, everyone involved has to work well together first.

Sadly, your newborn still isn’t old enough to understand, much let alone comply with, your exact wishes. So, it’s important that you understand them instead.

At this stage, babies grow at a fast rate. Familiarize yourself with your infant’s developmental milestones to check if they’re hale and hearty.

It’s vital that you understand the kind of motor skills, startle reflexes, cognitive abilities and flexibility they usually show at the age they’re at. Understand their feeding needs and sleep stages. Find out what irks them and what calms them down. This will help you work with your newborn effectively and securely.

5. Confidence is key

The best time to take photos of newborns is when they’re still less than 11 days old. If you want some snaps directly from the surgery room, it’s best to be prepared in advance.

If you want to dress your baby first and capture them at the right time, be confident and snap away!

Don’t let your inexperience make you wary—with enough practice, capturing the right moment will be easier. The beauty of digital photography is that it lets you take as many photos as possible. Polish up your editing skills and filter out the good photos.

6. Getting the angles right

Capturing the perfect angle is crucial, whether you’re taking photos of an adult or a child. The picture will turn out unsatisfactory if you fail to find the newborn’s perfect angles.

Take test shots of your little model before going full swing. Snap from different directions to grasp their best angles.

Think of out-of-the-box poses, unlike the usual ones of newborns on a basket or bed. Be creative: Try different positions and backgrounds.

Whatever you do, always keep in mind that you’re working with a fragile little being, so don’t attempt anything too complex. Keep the baby’s age and innocence in mind and then progress.

7. Getting the lighting right

When it comes to photographs, using artificial lighting is alright. Natural lighting, however, can take the quality of your photos a few notches higher.

A few shots in the backyard, in the park, or just inside the car on a gorgeous day can pop out your newborn photo album.

Don’t be afraid of photographing your baby outdoors. All you need are some blankets and pillows to position the baby with.

Still, be very careful when taking photos outdoors as the twigs and bugs may irritate the baby. Make sure that the venue is clean and bug-free, and that you have a helping hand to look after the baby while you are busy being creative.

8. Think outside the box

It’s always better to plan your shoot beforehand. Don’t just take random shots and hope that something good will come out of it.

Plan the color theme of the photo album and the photography theme, such as lifestyle or portfolio. Decide on the background, the baby’s most flattering poses, and the family members who get a part in the frame.

To generate photos of exceptional quality, polish up on your photography skills online before commencing with the task.

Get a high-quality camera and familiarize yourself with all the tools and settings. Try hiring a professional photographer if you can afford it.

Take a number of shots of the background that you like before taking photos of the baby. If you have a planned background, adjusting the baby’s poses becomes a piece of cake.

To enhance the attractiveness of the photo, add some props like flowers, toys, or musical instruments. It’s an easy way to add charm to your pictures.

The bottom line

Consider a background that resonates with your ideas, help the baby get comfortable, and include lots of beautiful elements to magnify the story of the photo album.

Encourage the baby’s family and pets to join in the photo shoot to create a livelier story. The more sparkling the photos are, the better the memories your newborn will retain when they’re older.

Stepheny is a content writer at FeedFond. She’s a loving mother to her two children and is passionate about psychology and philosophy. To read more of her articles, visit FeedFond.com.

nixplay blog-fall photos

How To Make Your Fall Photos Pop

There’s something so charming and lovely about fall, and it’s not only the magical colors of the falling leaves or the beautiful and softly dimmed light coming from the sky. This season brings with it a cozy, welcoming feeling, and we’re sure you have felt it too.

Now that autumn is upon us, we bring you some useful advice to consider not only when shooting during the season, but also in post-production.

1. Mind the colors

Photography during the autumn season is all about color. Try to compose your images with fall’s rich hues in mind: That golden-reddish foliage is your ultimate goal, but contrast it with some lovely greenish-blue tints or neutral tones for a balanced touch.

2. Mind the weather

Shooting in rain or snow is a fantastic way of capturing photographs that will take your breath away. But proceed with caution as doing this can damage your camera. Carry an umbrella or a waterproof coat, or better yet, invest in weather-proofing gear.

3. Look for reflections

If you’re shooting in rain, try to look for some little ponds on the streets. These little windows are great for capturing reality in a whole different perspective. Don’t worry if you get your knees muddy—it will be worth it, trust us.

4. Cities are great…

If you’re still thinking about where to go for autumn, here’s some good news: you probably don’t have to travel too far. The great thing about autumn is that cities are immersed in a very beautiful light. Wander around the streets of your hometown and you’ll see how easy it can be to shoot beautiful autumnal photos.

5. But woods are even better

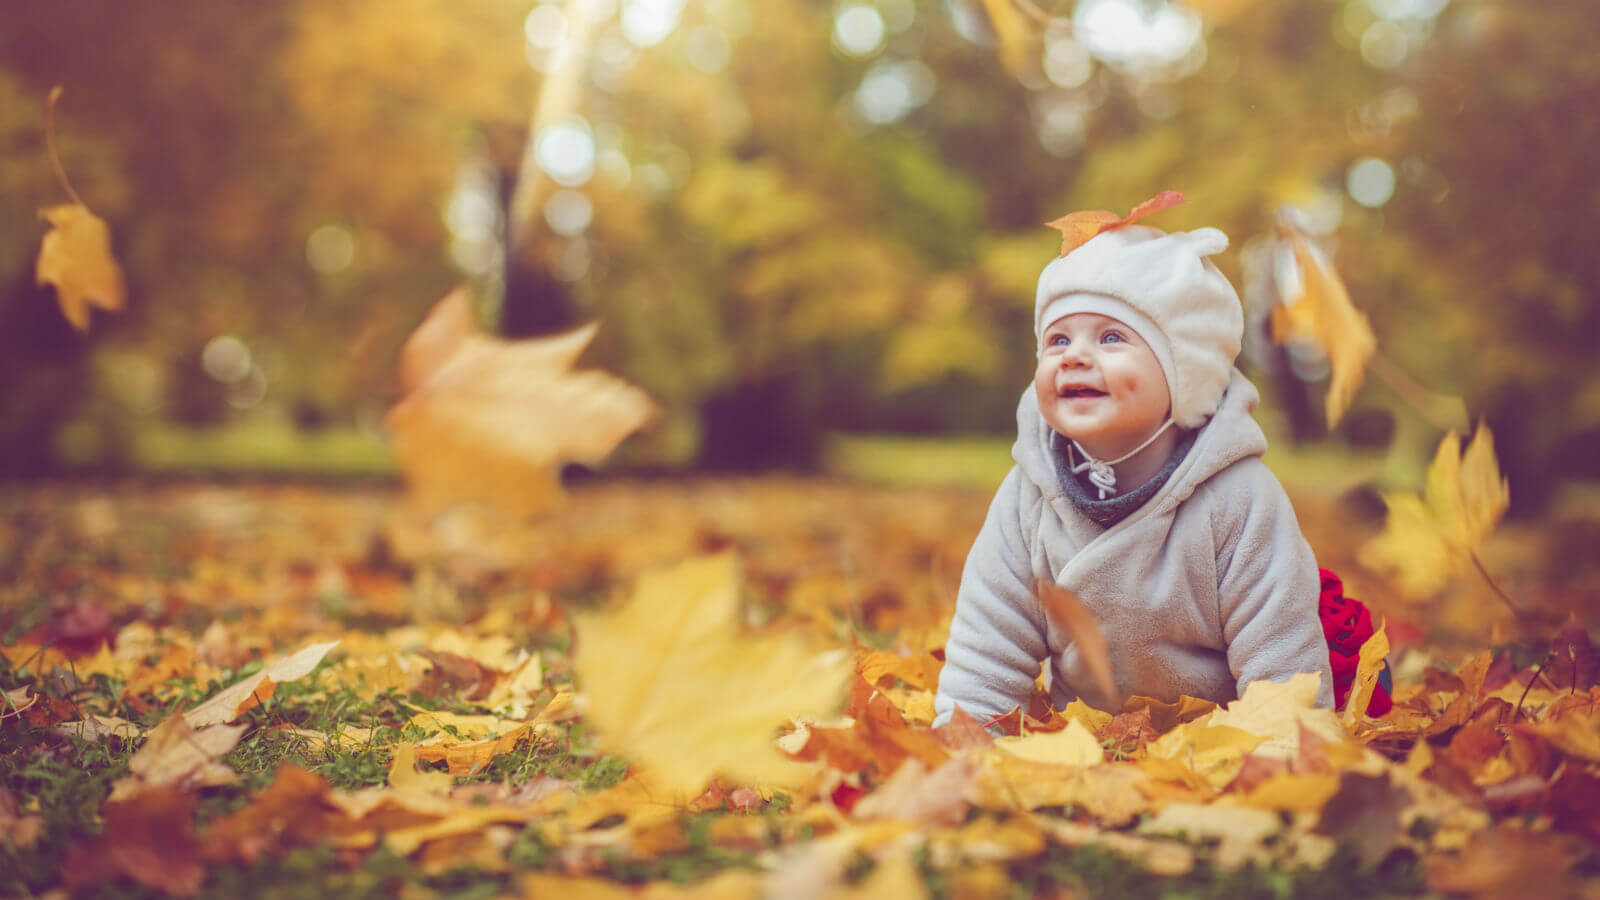
If cities are great during autumn, woods are the ultimate expression of fall. The forests will be perfect for all sorts of photo shoots you can imagine. Take the kids and let them have fun playing with the leaves on the forest floor, and shoot away!

6. Shoot RAW

We can’t say this one enough: Shoot RAW whenever you can. This is the best way to recover details and maintain the season’s beautiful colors on your photographs in post-production. While it’s true that RAW files are heavy and that they limit your storage, you should be able to work around it if you’re serious about photography. Put some thought into your shots, and you’ll eventually end up shooting fewer but better-looking photographs. Quality over quantity, always.

7. White balance is key

If you shoot RAW and understand the power behind white balance, then you’ll have the most fulfilling experience with photography. All you have to do is to import your RAW files through your favorite development software and play around with the temperature and tint values from the white balance section. By doing this, you’ll achieve virtually any mood you could imagine. Use it wisely, and you’ll be all set with your fall photographs.

8. Display your photos

During autumn, not every single day is perfect for going out, and that’s fine! What you can do is to display your fall photographs on a Nixplay frame in your home. This is a great way to keep yourself inspired motivated to take better photographs.

Federico is a documentary photographer, writer and educator based in El Salvador. Check out his photography portfolio.
nixplay blog-food photography

5 Food Photography Tips And Tricks

These days, it’s not enough for food to taste good. To be on the radar of the most discriminating gourmands, your dish has to be photogenic as well—a feast not just for the palate, but also for the eyes.

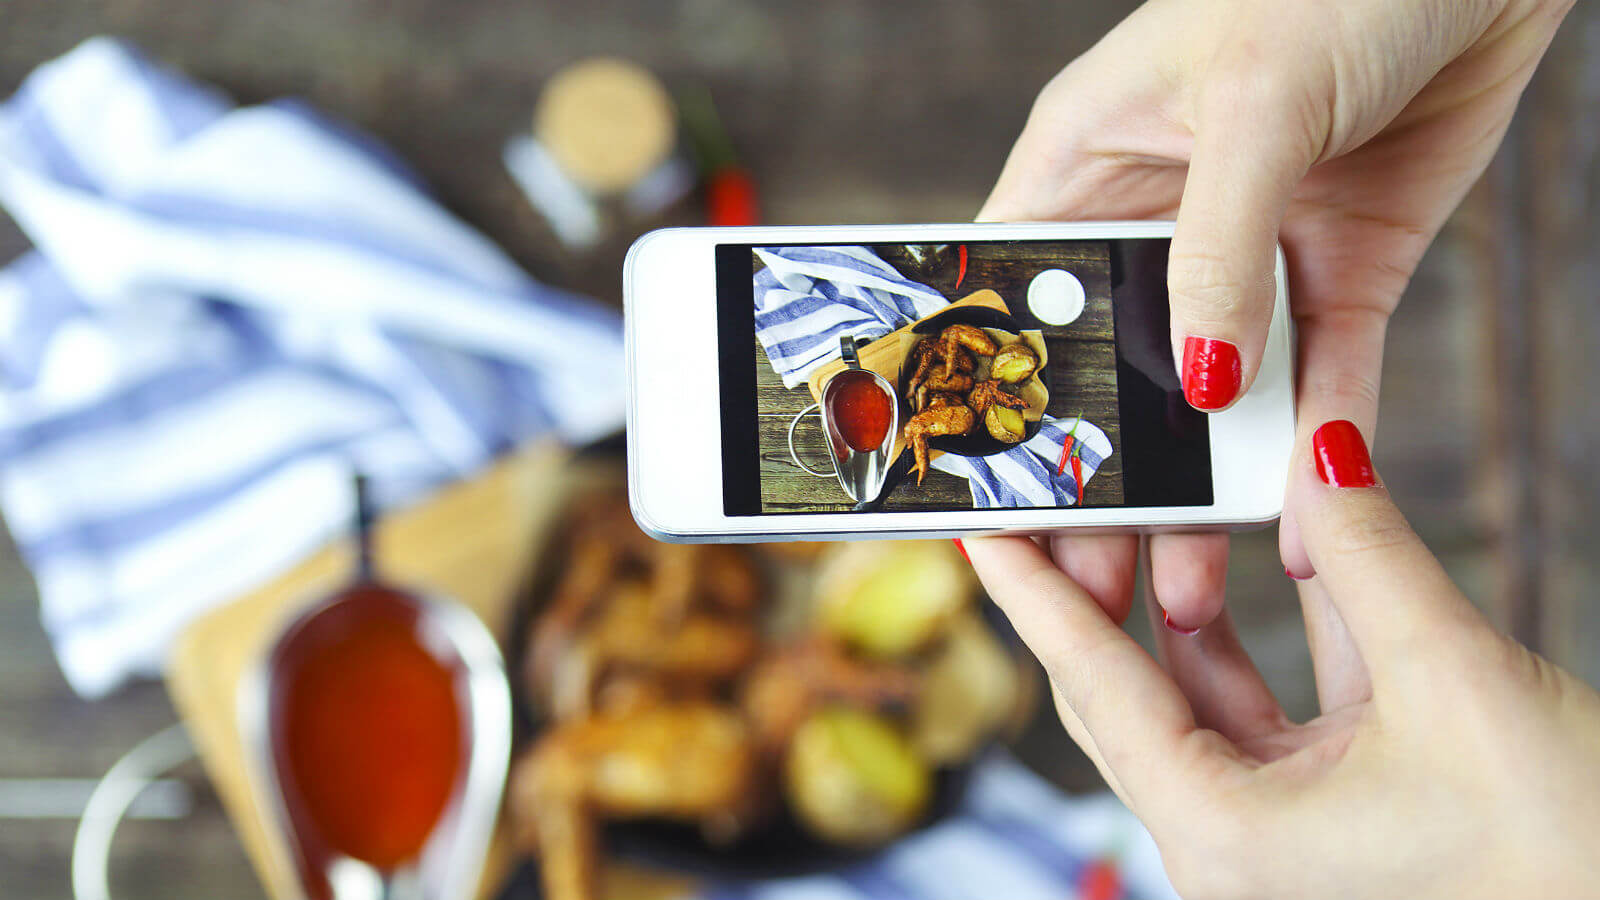
It is hard to know exactly when food photography became so popular, but we have a theory that social media had a lot to do with it. It doesn’t matter if you are shooting with a phone, a point and shoot camera or a DSLR (even an analog film camera can work), what really matters is composition and lighting conditions. You don’t need to be a food stylist—anyone can make real food look good by following these simple tricks. Don’t forget to display your shots on your Nixplay Frame!

1. Mind the colors

The best thing you can do to achieve great food photos is to compose your shots with colors in mind. Colors are the biggest asset of food imagery, and can do wonders in making your dish look mouthwatering (or unappetizing). We suggest that you do some homework on color psychology, and you’ll see how important it is to use colors correctly.

2. Rustic and organic never fails

After news leaked about food styling and high makeup inclusions in food photography (especially on advertisements), there was a huge wave of food photographs depicting natural looks. Many dishes these days are plated to look good, so all you need to do is take out your camera and find a good angle. The best way to achieve a rustic look is to use fresh ingredients against a neutral backdrop.

Pro Tip: Need to get inspired? Keeping up with photography trends has never been easier with Instagram, Pinterest, YouTube, and many other platforms. Magazines and culinary shows like Chef’s Table are likewise great resources for inspiration.

3.  Use a tripod whenever you can

A tripod is a photographer’s best friend. It allows you to shoot in ways that are technically impossible to do handheld, giving you a wider range of angles to find the best shot. If you can’t work with a tripod, you can always figure out some solutions to keep your camera or phone stable and secure (bean bags are great for this).

4. The 90-degree approach

Never underestimate the power of the direct 90 degrees approach, also known as the overhead or top shot. This works fantastically for making dishes look tasty and beautiful.

Pro Tip: Use a macro lens whenever you can to better capture the details of your food—that lovely bokeh effect is awesome for food photographs. If you don’t have a lens-interchangeable camera, you can always use the macro mode on your point and shoot, or you can use selective focus (or even a converter) on your phone.

5. Keep it simple

Less is more in pretty much every creative discipline, and food photography is not an exception. Back in the old days of still-life paintings, food was depicted as a symbol of abundance and prosperity. Nowadays, the minimalist approach does the trick, keeping the focus solely on the dish.

We hope you find these bite-sized tips and tricks useful for making your meals drool-worthy in your photos. And remember: #FoodPorn shots are great, but eating your meal while it’s still hot is way better. Dig in and enjoy, folks!


Federico is a documentary photographer, writer and educator based in El Salvador. Check out his photography portfolio.

how to use a film camera

Tips and Tricks: How to Use a Film Camera

Is film photography dead?

After digital photography skyrocketed some years ago, a very odd thing happened: film became popular again. Maybe it had something to do with the appeal of delayed gratification, or it might have coincided perfectly with the rise of hipster culture.

Endless theories could be drawn around the reason why film photography got a second stab at popularity. Film has a long way to go before dying, and if you’ve already joined the film bandwagon, here are some of our tips and tricks on how to use a film camera and improve your photography skills with film.

Our Top Film Photography Tips for Making the Most of Your Camera

1. Your camera can offer great value

Your film camera has a couple of great benefits that you may be missing right now. It doesn’t matter if it is a 35mm or a medium format camera: They both are highly desired formats in the digital world thanks to these formats’ capabilities.

For a fraction of the monetary investment digital cameras require, you can enter into the exclusive formats that are only reserved for the high pros. Also, you can access some really well-built lenses without going broke.

2. It’s a great tool for improving your photography skills

Using a film camera will eventually make you a better photographer because you’re shooting with a reduced amount of frames. Instead of spraying and praying, film photography can help you develop a more conscientious way of crafting images.

By shooting less you’ll eventually become a better and more discerning photographer. Shooting this way will teach you more than any tutorial out there on the web. You don’t have to be totally loyal to film photography—it’s just a good way of building a mindset that will make you a better photographer no matter if you keep using a digital camera, or even your phone.

3. Score some new film

Kodak recently re-launched its iconic Ektachrome film, which is a great sign. If shooting expired film is good, shooting fresh film is better. Stock up on Ektachrome now!

4. Dig around for expired film

Film has an expiration date, but it is so generous that it doesn’t matter too much for some people. Try to look around in your house for some unexposed film—even 20-year-old rolls will do—and try to develop them. The great charm about film photography is that it will always have unexpected results when shot under such stormy conditions.

5. Learn how to develop your own film

Some people like to develop their own film, and there’s a good reason why. This gives the photographic experience a completely different spectrum. Seeing your photographs appear in front of you almost out of nowhere is an experience every person should have at least one in their lives.

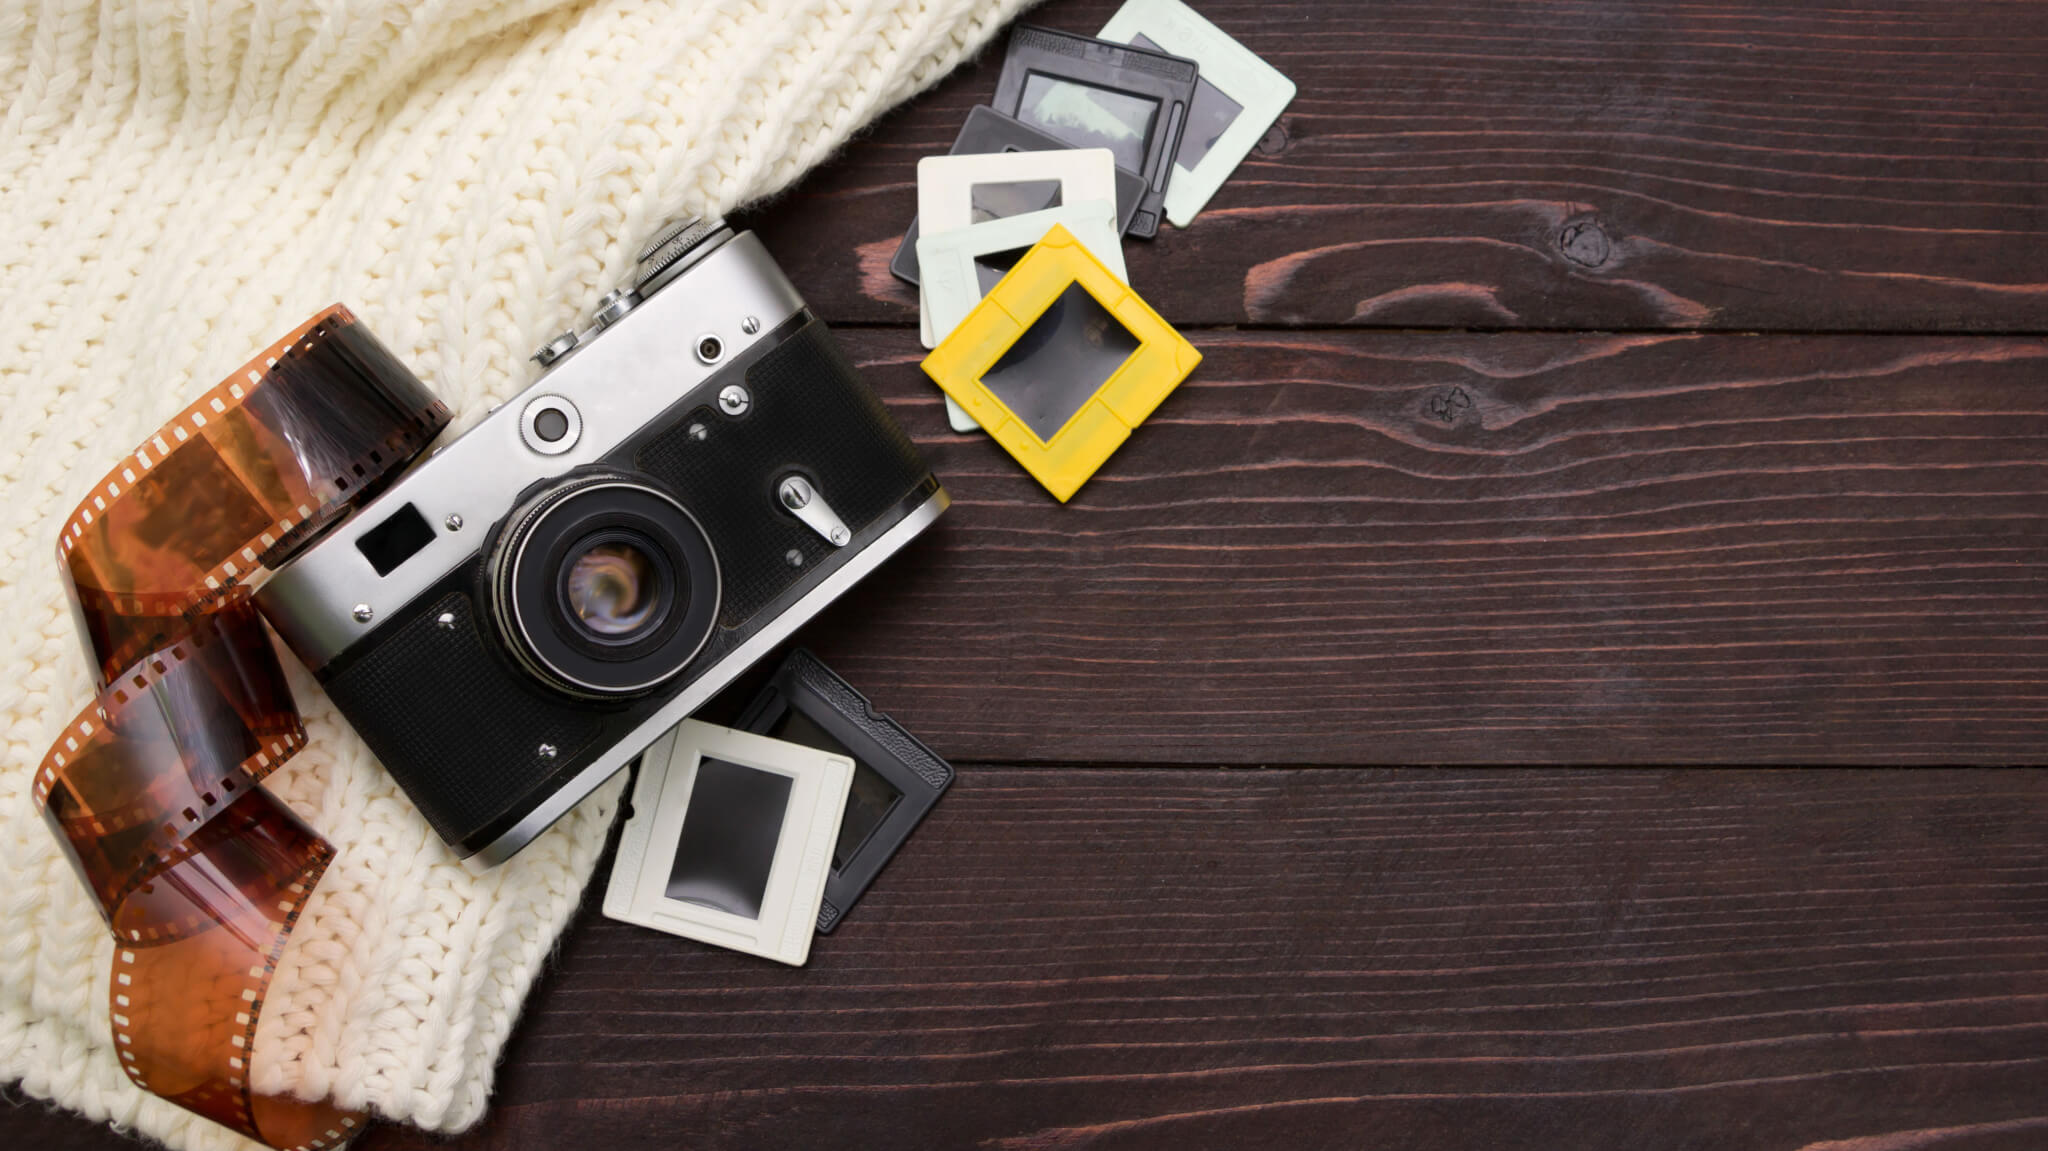
Now, getting film developed is one thing, but printing it out is another story. Film scanners have become pretty popular these days, and they are extremely powerful too. You can scan out your film, invert it, and display it directly on a Nixplay digital frame. This saves you the effort of printing out your negatives. Your frame can also serve as a portable lightbox where you can see all the negatives before deciding which images are worth printing out.

The Beauty of Film Photography

At the end of the day, what matters most is the beautiful relationship between a person and their photographs. Using a film camera offers you something that you can only dream of achieving through a mobile phone camera. Its timeless beauty with unexpected imperfections and charming effects cannot tryly be replicated with an Instagram filter.

Photography is a popular hobby that is ever-growing with new members, creatives, and ideas. With modern gadgets and devices being brought out frequently to expand the field, more and more people are developing an interest in the topic. If you’re a photography fanatic with all the gadgets, you may want to try a Nixplay digital photo frame—the only one of its kind that can play both video and photos through the display screen. Show off all your favorite memories in ultra-high pixel density with the click of a button on the next-generation smart frame. Find your Nixplay frame today.

Federico is a documentary photographer, writer and educator based in El Salvador. Check out his photography portfolio.

Page 8 of 24

Powered by WordPress & Theme by Anders Norén