Tag: photography Page 1 of 6

The Importance of Lightroom Presets in Instagram Marketing

Marketing on social media has become an incredibly large business. In fact, tens of billions of dollars is spent on social media advertising in the USA alone. There are many different platforms and apps that both individuals and companies alike can market themselves on.

One of the biggest is certainly Instagram. It boasts over a billion users and is incredibly popular amongst a variety of ages groups. Of course, the name of the game for marketing (either yourself or a product) on Instagram comes down to photos.
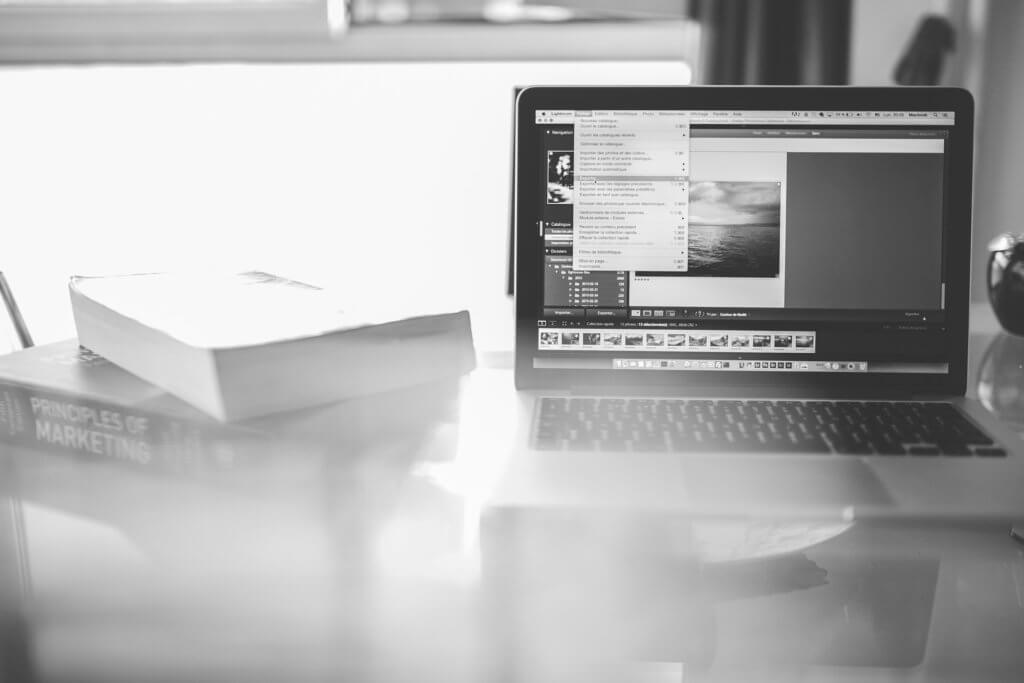
The Importance of Lightroom Presets in Instagram Marketing
(via: https://pixabay.com/photos/macbook-laptop-computer-creative-2620119/)

If your photos don’t look good and can’t bring people in, they likely won’t click on your profile, follow you or consider your product. Among the best ways to ensure your photos look incredible is to use Lightroom presets.

This article is going to go over the importance of using Lightroom presets when it comes to marketing on Instagram.

They can Save Time

A Lightroom preset is similar to a filter, only that it is custom-made by fine-tuning various sliders and settings within Lightroom to come out with the desired effect. Also, it will look consistent photo to photo, while filters may not, depending on lighting and other aspects.

While creating a preset itself can take a while, once it is built and saved, it can be used on any photo you want, instantly. It is essentially like having a high-quality, pre-made and customizable filter that you can use to make any photo look consistently better.

Simply having these presets ready to use can save you a ton of time compared to if you had to edit and fine-tune each one before posting. If you don’t feel like making your own presets, there are plenty of people out there who took the time to learn how to sell digital downloads and have put theirs up for sale. These will come with a cost, but will be able to save you even more time.

Takes Your Content and Photos to the Next Level
Takes Your Content and Photos to the Next Level
(via: https://pixabay.com/photos/laptop-camera-desk-blogging-blog-4840790/)

Of course, another reason these presets are important is simply because they take your photos to the next level. People are much more likely to follow or check out your products if your feed is full of beautiful photos with the right presets. These presets can improve every aspect of your photo. This goes from the colors, to the contrast, to the warmth and many others in between.

They can make your page much more consistent from post to post, and help it look professional at the same time. No matter where you capture a photo, the lighting or even the style, adding the right preset can ensure it stays in line with the direction of your feed and fits your aesthetic.

They Make Comparisons Easy

An important part of editing photos for Instagram is comparisons. You need to compare different presets and sliders to see how they make a photo look. Lightroom makes this easy as it allows you to easily see the photo before and after your edits and presets have been added. 

This is much simpler than having to open up multiple tabs or files. It also lets you ensure you are using the correct preset for your particular page. If you use Lightroom presets to experiment on a specific photo, you can also rest assured that the original will stay untouched. 

The app doesn’t overwrite the original photo or even edit it at all. Because of this, you will be able to always compare your presets to the original. This can help you to see which filters or settings work, and which don’t. Without comparing photos to the original, you can often lose sight of what made the photo great in the first place.

In conclusion, we hope that this blog post has been able to help you learn the importance of using Lightroom presets in your Instagram marketing efforts.

Wendy Dessler is a super-connector who helps businesses find their audience online through outreach, partnerships, and networking. She frequently writes about the latest advancements in digital marketing and focuses her efforts on developing customized blogger outreach plans depending on the industry and competition.

how to take selfies like a pro

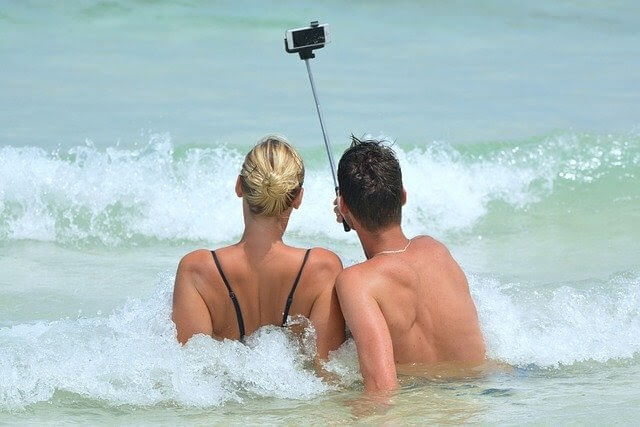
5 Easy Tips for Taking a Selfie Like a Pro

Having a presence on social media is something most people put a lot of stock in. If you are trying to land a larger following, putting out new content on a regular basis is imperative. When trying to interact on platforms like Instagram, you need to ensure you have plenty of visual content. Pushing your personal brand is easy if you invest time and effort in developing great-looking selfies.

A recent study found that over 93 million selfies are taken on a daily basis. With all of the different selfies, it can be hard to garner attention on social media. This is why your main goal should be to take selfies like a pro. Luckily, there are a number of useful selfie tips that can help you up your selfie game. Below are some of the things you need to do to make your selfies look more professional.

1. Invest in a Bluetooth Remote

Getting a professional-looking selfie is a lot harder than you probably realize. Rushing through the selfie-taking process can result in a number of mistakes being made. Having the right equipment is imperative when attempting to get a great looking selfie. The main piece of equipment you need to accomplish your selfie goals is a Bluetooth remote.

These remotes allow you to control exactly when the selfie is taken. This means you will have plenty of time to adjust your shot to ensure it is appealing. If you want to avoid buying a Bluetooth remote, you need to explore the timer feature on your phone. Many modern smartphones have these timers. However, each one is different. This is why taking the time to practice with your timer is so important before attempting to use it for a selfie you publish on social media.

Source: Pixabay

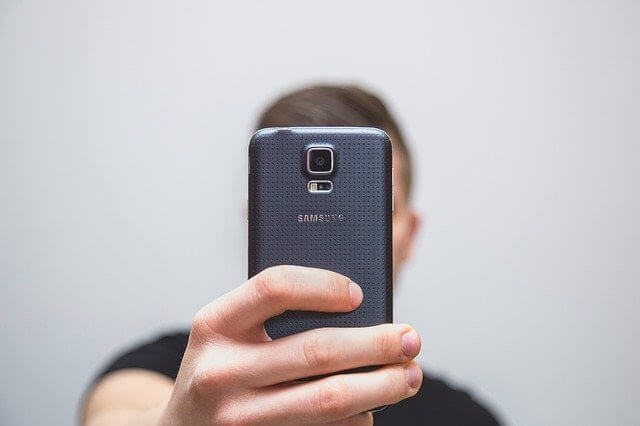
2. Learn How to Hold Your Phone

Newcomers to the world of selfies fail to realize that the way a phone is held during the picture taking process makes a big difference in how the picture comes out. If you fail to hold your phone correctly, your selfies will look blurry and low-quality. One of the most popular methods used by selfie enthusiasts is to hold their phones at a 45-degree angle. With this angle, you will be able to hide any unsightly chin fat that may be present.

You also need to focus on bringing your phone closer to your face. The further your phone is from your face, the harder it will be to get a high-quality selfie. As time goes by, you will find your selfie sweet spot. The key to finding this sweet spot is practicing as much as possible.

3. Telephoto Lenses are a Great Investment

One of the biggest problems you could encounter while taking selfies is photo distortion. In some cases, this distortion is unavoidable due to the quality of the camera on your phone. If you are constantly dealing with low-quality selfies, you need to consider investing in a telephoto lens for your phone. These lenses are both affordable and easy to use.

With the right telephoto lens, you can take advantage of the shallow depth of field they offer. The shallower this depth field is, the lower the likelihood of blurs occurring will become. Before buying a particular telephoto lens, look at the reviews it has. Generally, you can tell a lot about a particular lens by looking at the experience others have had with it.

4. Getting Your Lighting Right

If you want to create professional-quality selfies, you have to get your lighting right. Taking a picture in light that is too bright will wash out all of the color and definition. On the other hand, selfies taken in low light are hard to see and very unappealing. If at all possible, you need to use natural sunlight to bring out the definition in your photos.

There are also a number of standalone lights that are available for cell phones. The money invested in this equipment will be worth it considering the increase in selfie quality they will provide.

Source: Pixabay

5. Get Your Selfies Noticed

Taking a professional-looking selfie is just the first step in getting noticed on social media. You also need to focus on properly tagging your photos. The tags used in your social media posts will dictate how much traction they get. Using unique captions and popular hashtags can help you reach a wider audience. Finding the right captions and hashtags will require lots of research. If you don’t have time to do this type of research, hiring a social media professional to assist you is a good idea.

Start Snapping Selfies Today!

Now that you know more about how to take professional-looking selfies, it is time to get to work. The more selfies you take, the easier it will be to create unique and appealing photos.

Wendy Dessler is a super-connector who helps businesses find their audience online through outreach, partnerships, and networking. She frequently writes about the latest advancements in digital marketing and focuses her efforts on developing customized blogger outreach plans depending on the industry and competition.

how to start a photography blog

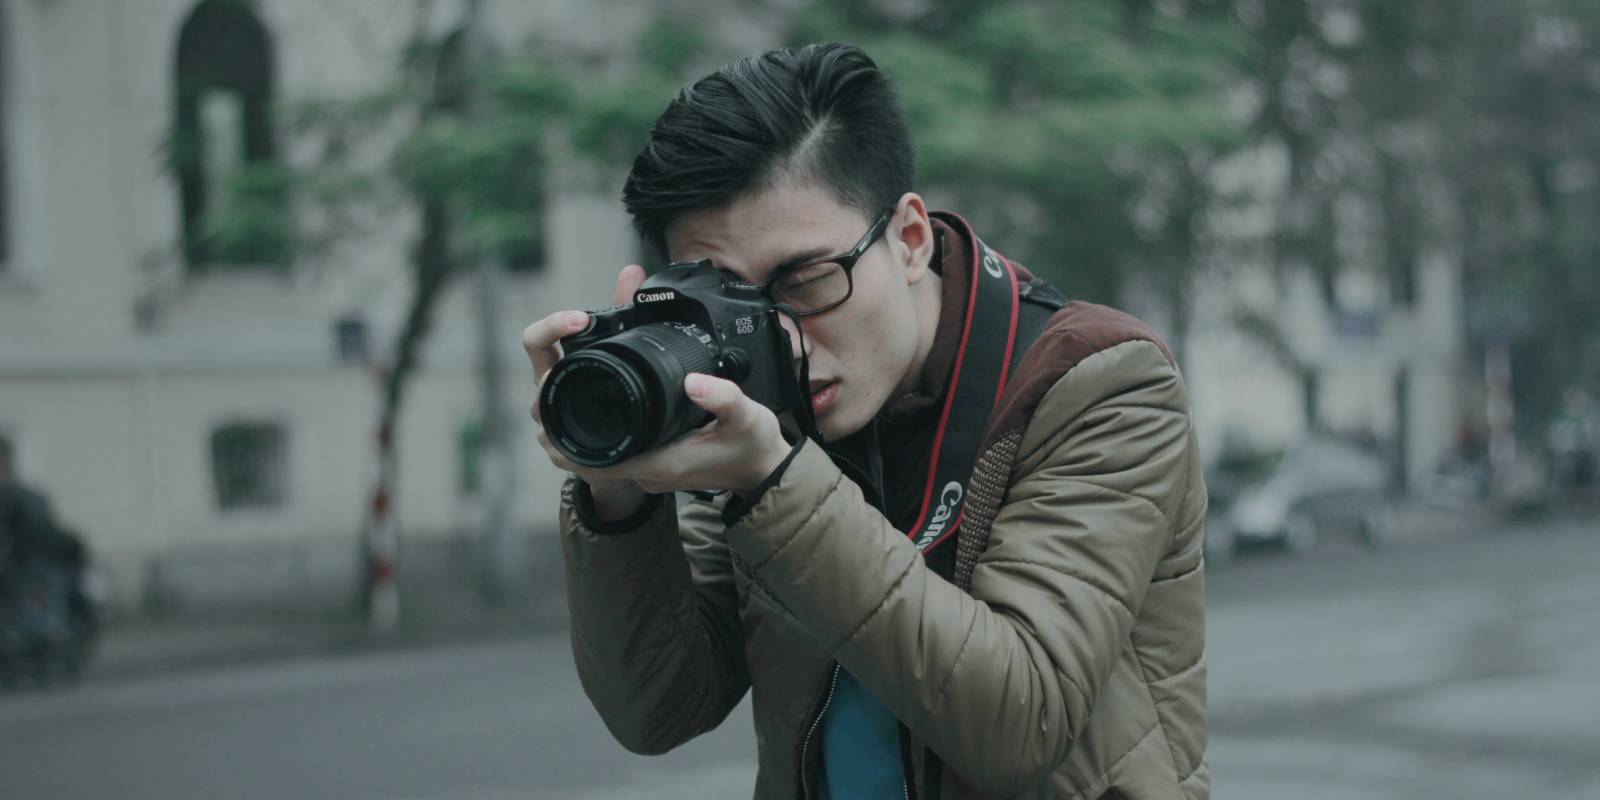
How to Start a Photography Blog

Every creative professional has probably been asked the same question at one point in their career: “Why don’t you start a blog?

If you’re looking to build an online presence, starting a blog is the perfect way to add a little personality to your portfolio. As a photographer, your voice, passion, and identity are revealed in your approach to the art. With a photography blog, you can showcase your favorite snapshots in a public space where you can also discuss your techniques, the gear you use, and the projects you will undertake.

The thought may seem a little daunting at first, as you begin to wonder how to approach it. But don’t worry. We’ve pulled together some top tips on how to start a photography blog to help you exhibit your talent. Find out how to start your own photography blog, how to make money with a photography blog, and more below.

How To Start A Photo Blog

We’ve outlined the most important steps on how to blog photography on your own website to help get you started.

The Build
First things first, you need to build your blog from scratch. Here is a brief overview of the steps you need to take when setting up a photography blog:

  1. Register a domain name – this is the “address” to your new “home” on the internet.
  2. Set up website hosting
  3. Install the software/CMS from your chosen blog site, e.g. WordPress
  4. Choose a theme

If you can afford it, we recommend that you host your own blog. This means that you pay for your web server and website domain (it typically costs $10-$15 a month), and though you might pay a bit more, you can rest easy knowing that you own your own content and blog website.

The Design

Before choosing a theme for your blog, think about your content. Make sure it will naturally suit your chosen theme while reflecting your personality. Opting for a customizable theme is always preferable so you can make any necessary changes.

When choosing the design of your blog, also consider sticking to one column. This view typically offers the best reader experience and makes it “mobile optimized”, so your audience can read on their phones, whenever and wherever. This is important, as most web surfers are now accessing the internet from their phones and tablets. Also, try to keep your menu bar streamlined with as little options as possible to make it easier for the user to navigate.

The Content

When you start your first photography blog, it’s important to upload regular content to keep up with demand. So on the days that you can’t make it out for a special trip, ensure you’re still using your camera around your local area. And even if you may specialize in landscape or architectural photography, make sure you also include the odd portrait or a shot of something personal so that you can humanize your blog and give your readers a glimpse of the person behind the camera.

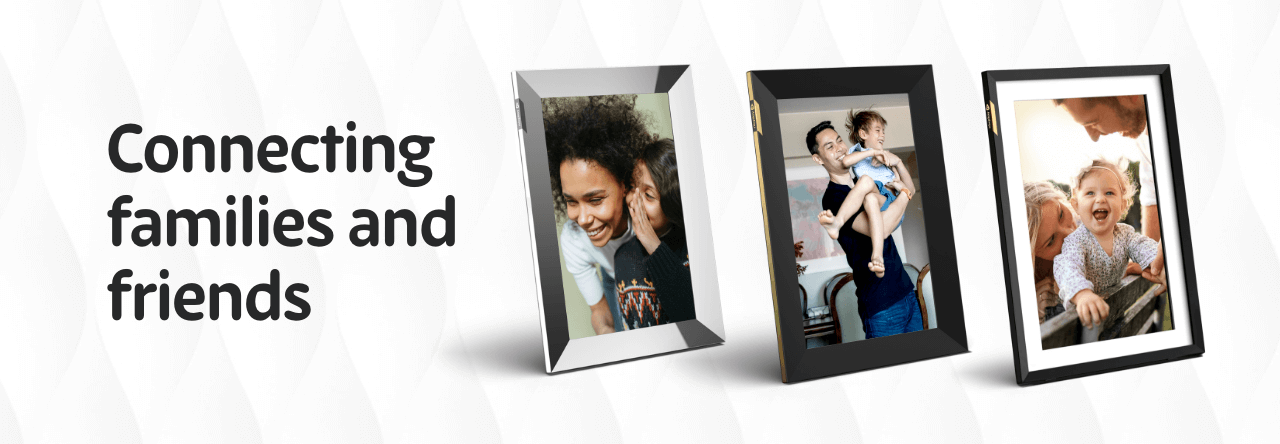
If you want to avoid posting your personal memories online but still want a way to showcase them and share them with loved ones, a Nixplay frame is your best bet. Simply display your snaps in your own home and share them with family and friends.

But a photography blog isn’t just about achieving the perfect shot. Add value by providing top tips on lighting, effects, or your favorite equipment. You could also take a more journalistic approach by expressing your opinions on a topic, or telling a story about what you saw through the viewfinder. Find the style that works best for you.

Your photography blog offers a place for you to curate and display your favorite shots, where readers can learn more about you and your work. But you don’t just have to post your own work on your blog. Why not share some insights with your readers, and make a post about your favorite artists? Just remember to give credit where credit is due, and acknowledge the other person behind the camera.

Before creating and posting content, you should consider your audience. Who are you targeting? What message do you want to send to your readers? Nailing down your target audience is a crucial part of setting up a photography blog that is destined for success.

Top Tips For Setting Up A Photography Blog

Discover our top tips on how to start a photography blog successfully:

  • Choose the right equipment for the job. Whether you’re a beginner or an expert, there’s a photography kit out there for you.
  • Think of a catchy domain name or handle. Think of one that users will remember and relate to.
  • If you’re starting out with a free blog like Wix or WordPress, you may want to consider upgrading to a professional account once your blog has gained some traction.
  • Never take your blog too seriously. Your photography blog is your personal playground, a place for you to share your photos, ideas, links, and inspiration. With technology, there are no limits.
  • Don’t get too hung up on stats like page views. These figures may fluctuate often, so checking them every day may make you feel unmotivated.

Just getting your skills started? Discover our top tips on how to get started in photography, from choosing the right equipment to taking the perfect shot.

How To Make Money With A Photography Blog

Professional photography is a competitive field, but there are several ways to monetize your blog so you can earn some dollars on the side. You can run display ads or sell your artwork, and there are photography sites available that will help you connect with potential buyers.

Then, once you’ve built up your audience, consider running photography workshops. You can engage with your readers, share your skills, and gain some extra cash. These might be online workshops or they might take place in your studio.

How To Start A Photography Instagram

If you’re wondering how to start a photography business on Instagram, you should approach it in a way similar to approaching a photography blog. However, followers often expect an Instagram feed to maintain a cohesive style or subject matter. Users typically decide whether to follow an account based on their latest nine images, so make sure that the top of your feed represents you and your style. Also use plenty of relevant, popular hashtags, follow similar accounts, and link out to your blog from your profile bio to gain more traffic.

And that’s how to start a photography blog! Hopefully, we’ve encouraged you to get started on setting up a photography blog to showcase your favorite snaps. If you’re looking for the best place to store your photos off the internet, perhaps you have some more private, personal photos that you don’t wish to share online, a digital frame is your best bet. For a completely personal solution, Nixplay digital photo frames come with ample storage, so you can share your favorite private memories with those who are closest to you, making it the perfect device for a professional photographer. Browse the collection online today.

how to photograph fireworks

How To Photograph Fireworks Like A Pro

With the Fourth of July coming up, it’ll be good for you to know how to take great photos of fireworks. They’re one of the most majestic things you can see–and one of the most challenging subjects to capture on camera. If you want to improve your fireworks photos, here are some tips to get you started. 

How To Photograph Fireworks Like An Expert

Scout for a great location

When shooting fireworks, it’s crucial to secure a good spot from which you can capture the magic without obstruction. Location matters, and if you can find an elevated space away from the crowds (to make sure that people’s heads or limbs won’t be in your shot), that would be perfect. Your location also plays a huge factor in your photos’ background. Do you want to shoot fireworks against an unobstructed night sky, the city skyline, or the mountains? Where you’ll be shooting can spell the difference between a good fireworks photo and a great one.

Use a tripod and a remote

Now that you’ve secured your location, the next thing you need to do is to secure your camera so you don’t end up with blurred shots. This is especially important for fast-moving subjects: when every split-second counts, you want to make sure you’re prepared. A tripod should come in handy, and controlling shots using a remote can further reduce camera shake.

Think about your framing

First things first: Are you shooting landscape or portrait? The former is great if you’re including the surrounding scenery, while the latter is better if you want to highlight the fireworks.

You also have to remember that different types of fireworks have different heights. Adjusting your camera constantly to get the fireworks in the frame could result in missed shots. Instead of trying to take photos of every explosion, it’s more efficient to just focus on a particular section of the sky and capture the action there. 

Use slow shutter speeds and shoot at a low ISO

Long exposure shots are perfect for capturing the fireworks’ movement. Try to keep the shutter open from the moment the firework starts to explode until it finishes exploding. But don’t try to keep it open too long, lest you overexpose the shot.

Shooting at a high ISO will result in brighter but noisier images–something you don’t want if your goal is to capture the contrast between the fireworks’ bright lines and the inky sky as cleanly as possible. 

nixplay secret sale

Don’t forget to display your fireworks photos on a Nixplay Frame! We’re having a Secret Sale on our US site right now: Get up to 25% off selected frames, only until July 12!

Marianne is Nixplay’s Web Content Editor. Her hobbies include exploring new places, playing table tennis, and cuddling puppies. Send her a message at marianne.salazar@nixplay.com.

how to look photo-ready for st patricks day

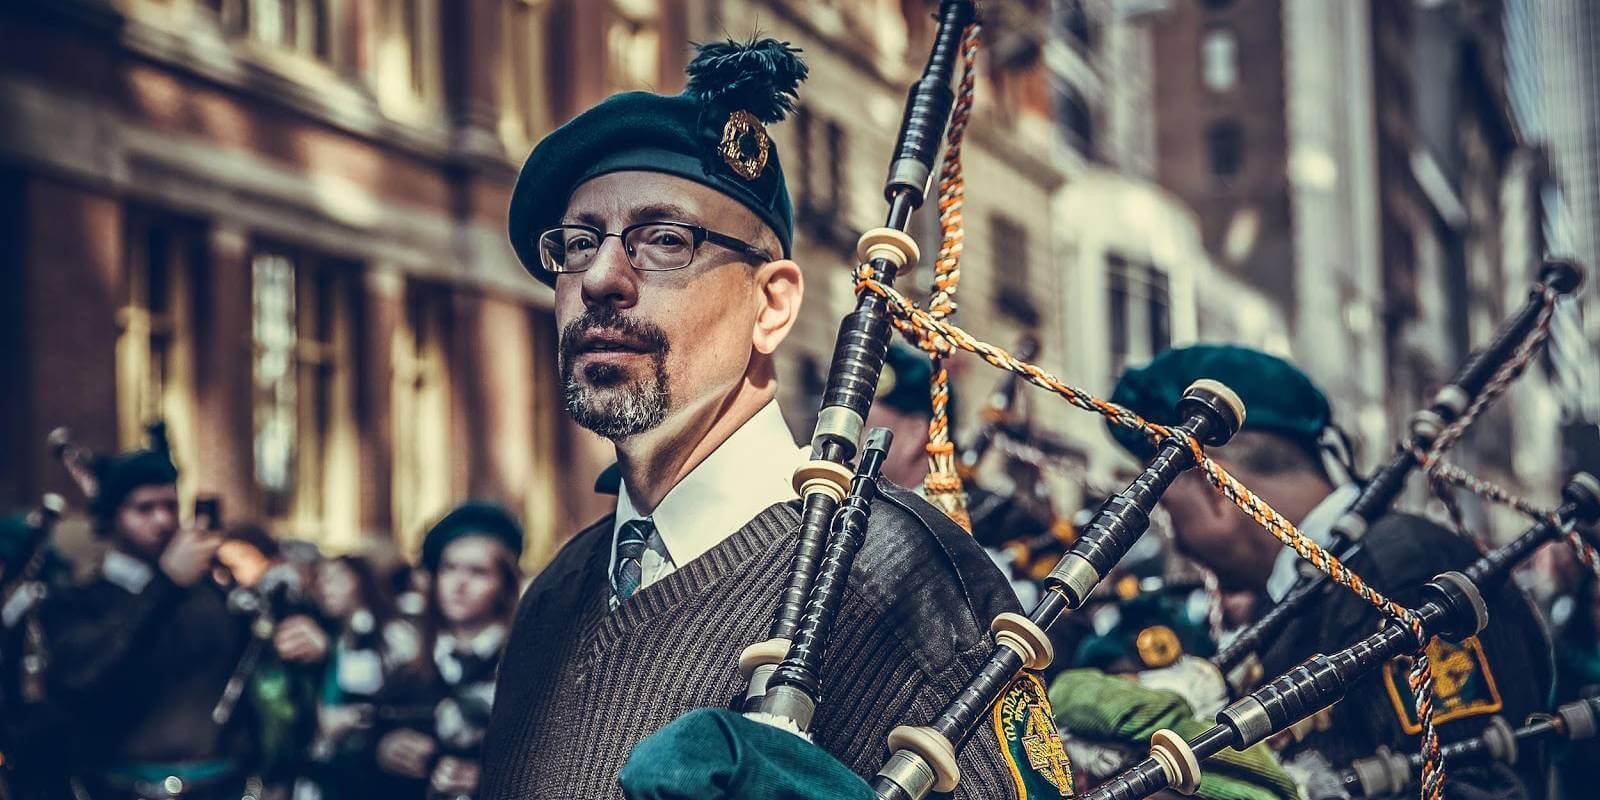
How to Look Photo-Ready for St. Patrick’s Day and Beyond

Looking picture-perfect is a goal many strive for. This is especially true on holidays like St. Patrick’s Day, where office parties and parades are abundant and pictures are captured to commemorate the events. If you’re worried about your celebrations not being photogenic enough, now is the perfect time to set yourself up for success on St. Patrick’s Day and beyond. Make sure you’re photo-ready for whatever event is thrown your way with these tips and tricks!

Let your outfit take center stage in photos

You wouldn’t want to look back on your photos from St. Patrick’s Day and only be able to notice that ketchup stain on your shirt. You will want to make sure your outfit is picked out and planned beforehand to avoid having to rush while getting ready. You also will want to make sure the outfit blends in at whatever activity you’re going to. You don’t want to be the only one dressed up as a leprechaun at your office party, nor would you like to be the only one not wearing green to the bar. Ask around and see if what your co-workers or friends are wearing aligns with your planned outfit for the day.

This advice actually goes beyond just St. Patrick’s Day. Make sure to plan your outfit accordingly for all the events and parties you attend. Just like wearing a color other than green on St. Patrick’s Day, you do not want to be the only one besides the bride wearing white to your friend’s wedding.

Picking out the outfit beforehand will not only save you some time getting ready on the day of the event, but it will also give you some peace of mind that what you’re wearing will be appropriate for the big day. This will let you focus on socializing with friends or co-workers, and not on your shirt being inside out. It will also help you show off your confidence in photos!

Strike a pose

It’s normal to feel uncomfortable in front of the camera, especially when you’re lacking in confidence. Try planning out what pictures you want to snap for the night and how to best pose for them! For group photos, try thinking about where you’ll want to position yourself. You don’t want to be the shortest of the group and get stuck behind your tallest friend at the last second. Being prepared for whatever picture may be captured can also help give you a confidence boost. Plus, a great pose can highlight your body’s best features and minimize the parts you aren’t too confident about.

It’s important that you do some research beforehand (even if your ‘research’ is just practicing poses in the mirror) to see what feels most natural and shows off your figure in the best light. Check out some of these tips to see how you should be posing for pictures!

Get a good night’s sleep and show off your energetic side

Once again, you wouldn’t want to look back on your pictures and only be able to focus on the dark circles under your eyes. Most adults need at least seven hours of sleep every night to feel their best. This is especially important on days like St. Patrick’s Day, when bar hopping and staying out late is common for many. Make sure you’re getting in enough z’s before any big event to ensure you’re looking well-rested in photos!

Getting a good night’s rest before an eventful day like St. Patrick’s Day will be a life-saver, and this will show in the pictures you capture too.

Make sure your skin is glowing and photo-ready

While most photos won’t show every blemish and imperfection on your skin, making sure you’ve maintained a consistent skincare routine will help your skin have a youthful and glowing appearance in photos. The first step to achieving this is to know your skin type. If you have oily and acne-prone skin, a heavy moisturizer may not be the best idea. Do some digging to find out what type of products work best with your skin type. If you’re not exactly sure what category you fit into, be sure to check out this guide.

Next, you’ll want to find the best products for you. Pay attention to how your skin reacts to certain products and watch out for signs of irritation such as bumps or rashes. What may seem like a good product may actually leave your skin looking red and irritated in pictures with friends.

Men should also mind their skincare. If your skin is on the sensitive side, make sure to grab a skin-protecting shaving kit that will give you a clean shave without razor bumps and cuts. This will help you look and feel your best when the camera flash goes off!

Show off your smile

Last but certainly not least, you’ll want to make sure your teeth are taken care of before the big day. Often, the first thing anyone notices in a picture is their smile. The last thing you would want to notice after the camera flashes is a piece of food stuck in your teeth. Make sure your teeth are brushed and flossed just before you leave for your big plans so you can show off that smile. Whitening your teeth doesn’t have to be expensive and time-consuming! If you really want to go the extra mile and achieve a whiter smile, there are lots of simple home remedies that will do the trick. It’s never a bad thing to have the brightest and biggest smile in the room when you ‘say cheese’ before the picture is snapped.

Once the photos are taken and St. Patrick’s Day has come and gone, make sure you can always look back on them with a Nixplay digital frame. Thinking back on those memories with a smile will be the icing on the cake! We hope these tips will help you prepare for your St. Patrick’s Day parties and beyond!

Page 1 of 6

Powered by WordPress & Theme by Anders Norén